In this article I’m going to show you how to nmap to scan a target. Welcome to nmap….
So nmap, short for network mapper, is a tool categorized as a port scanner. But Nmap can do so much more than port scan a host or network block. I will begin by starting up a terminal in my Kali Linux virtual machine.
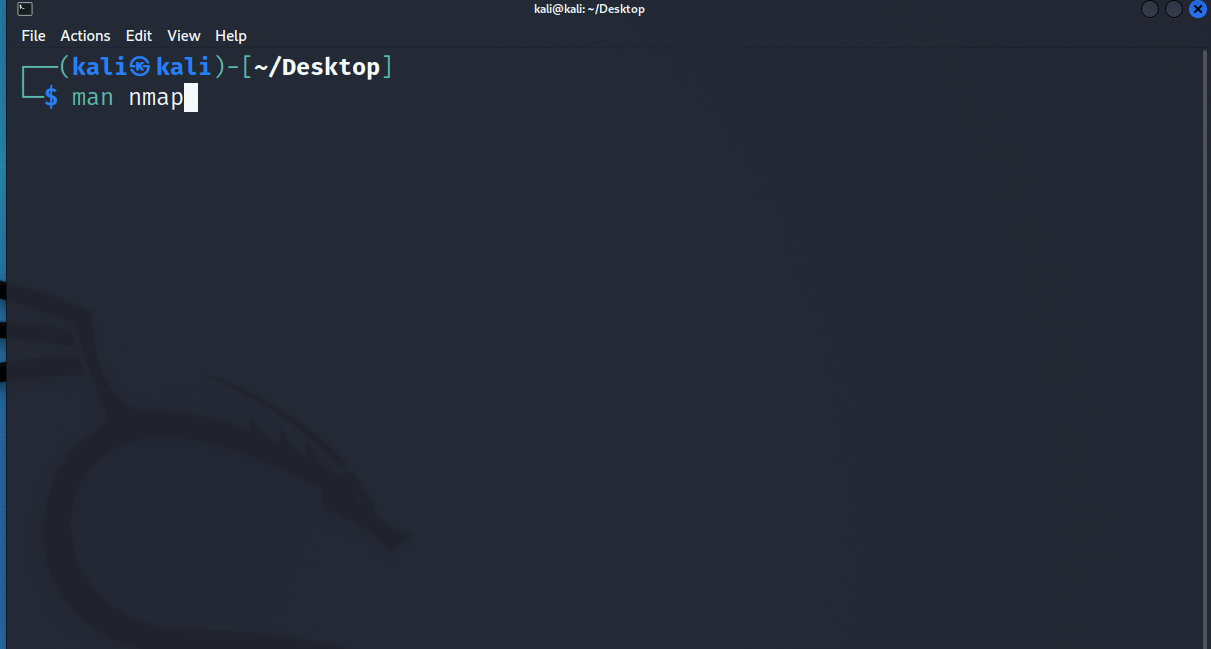
The first thing I want to do is show you where you can go if you ever need help using nmap. The man or manual page of a tool tells you how to use it, its options, and the command line syntax. The command is run as-> man nmap
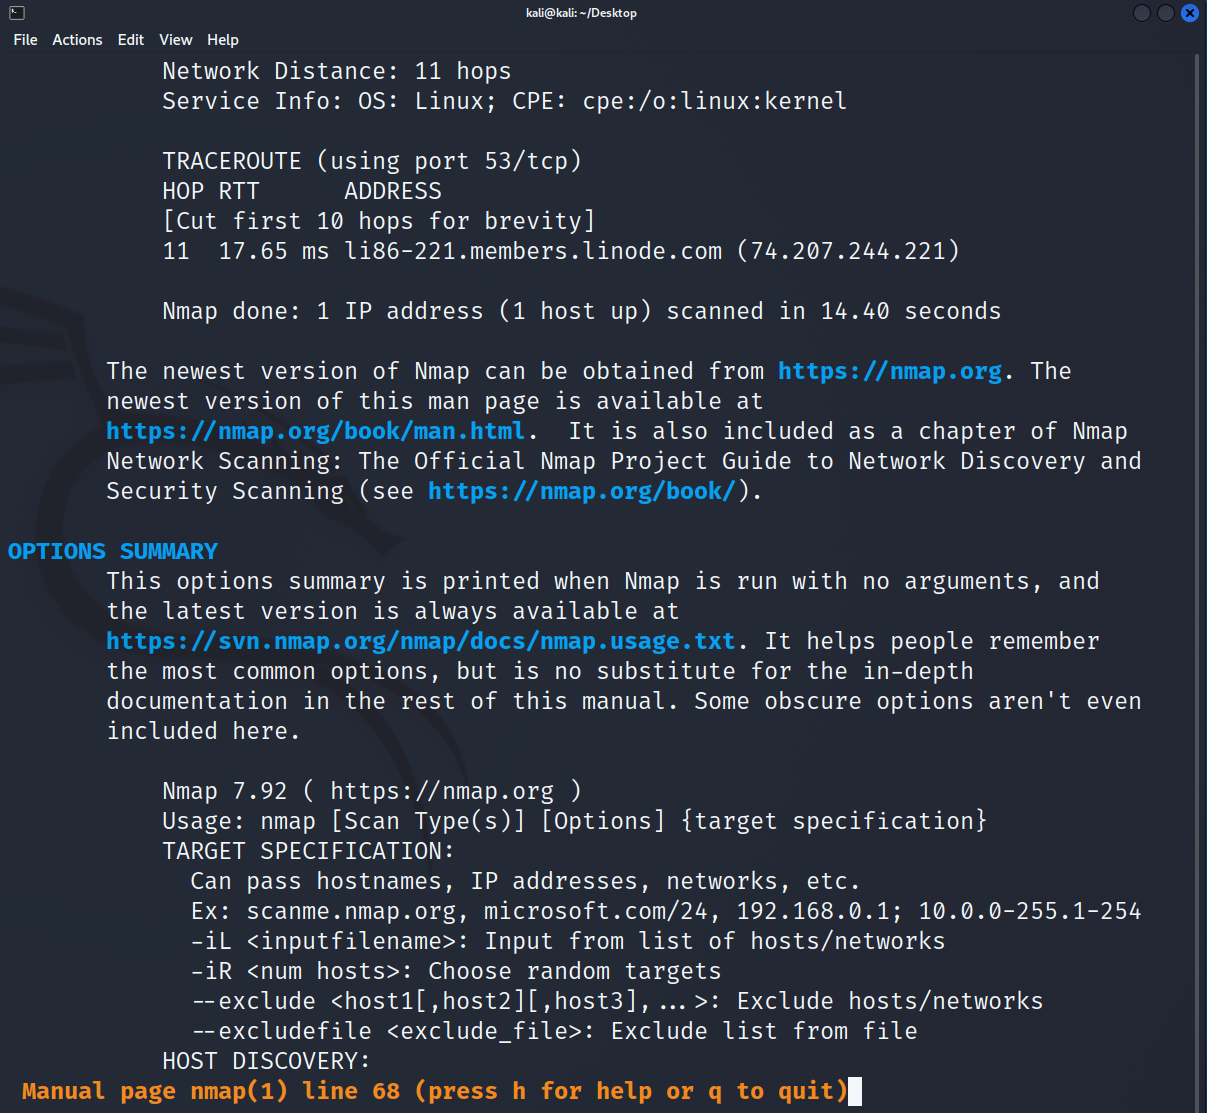
Here you can see the name, description, examples, and details on each parameter you can use and why you would use that specific one. man is extremely useful and should not be ignored! We can use the scroll wheel on our mouse or hit the spacebar to navigate through the pages. When we are done hit q to quit and return to the terminal command line.

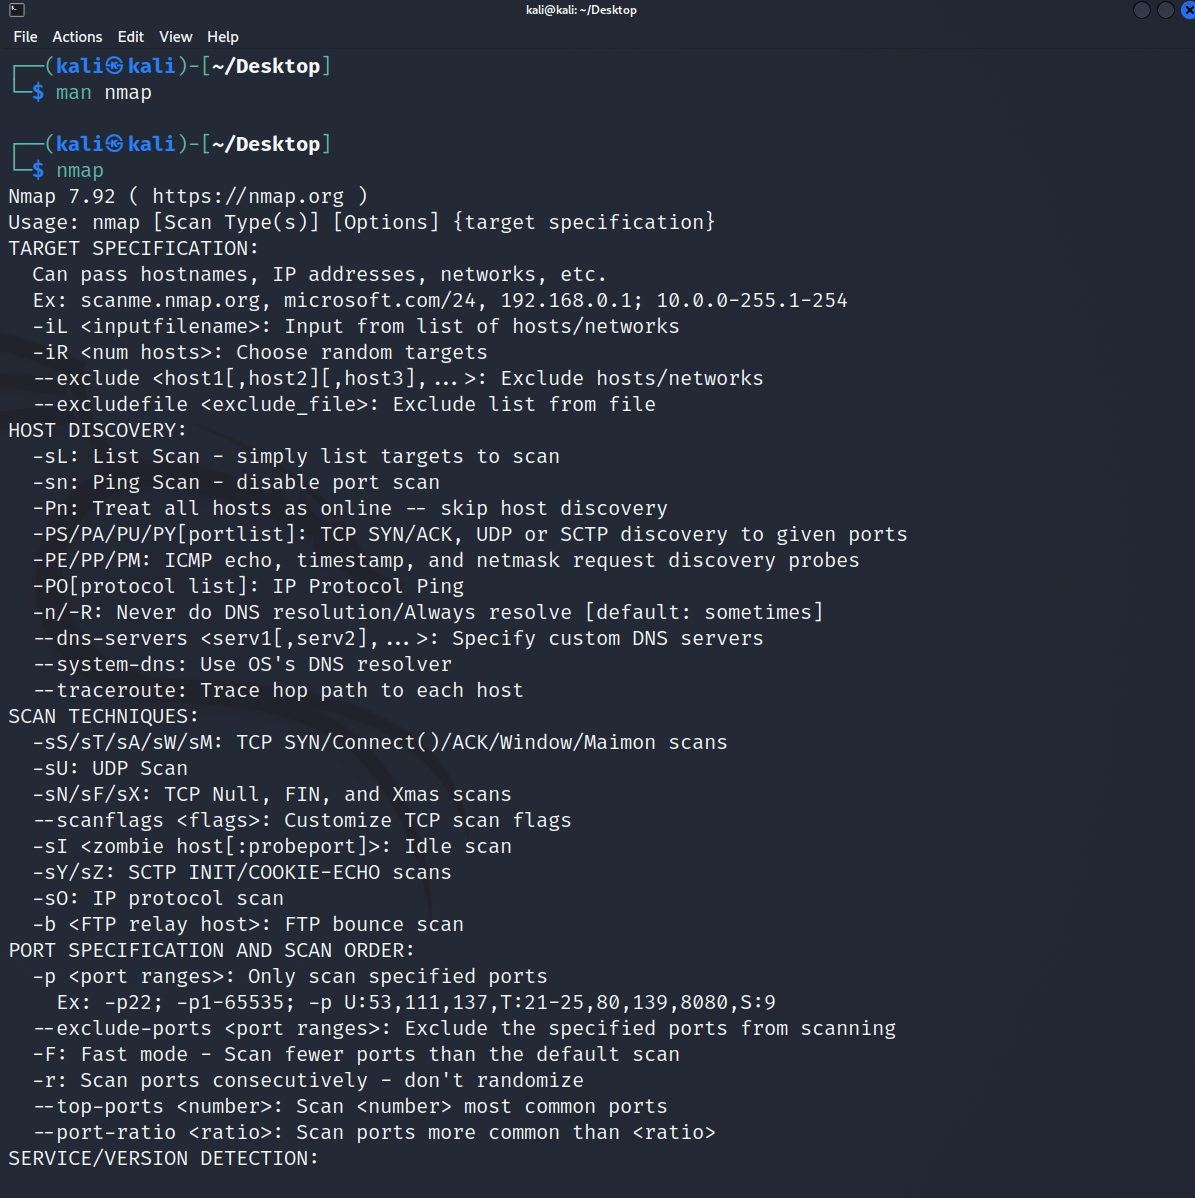
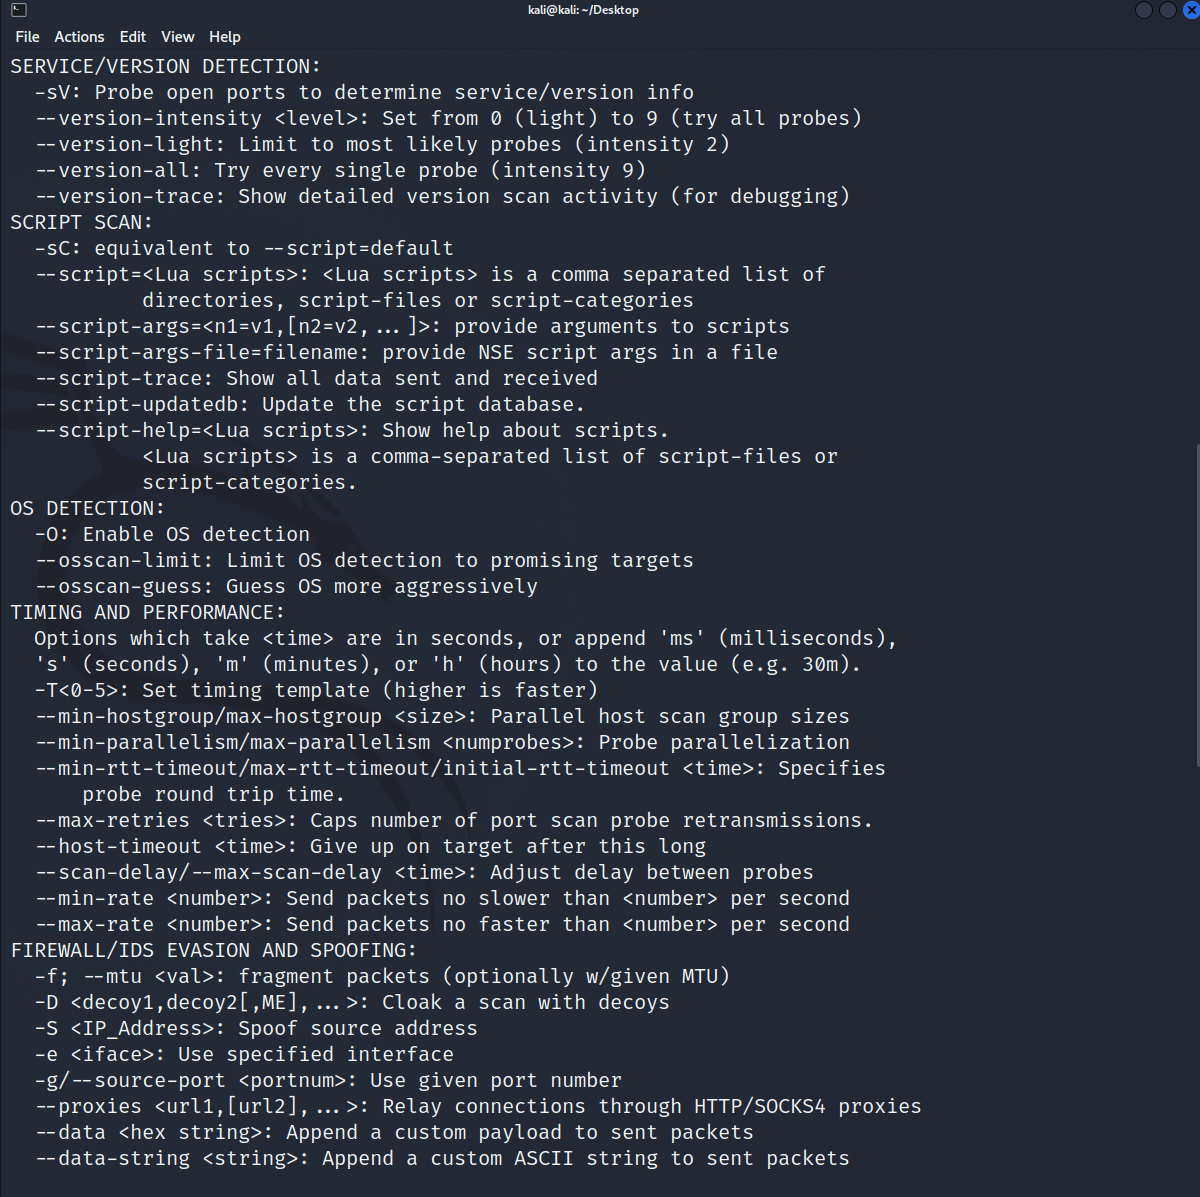
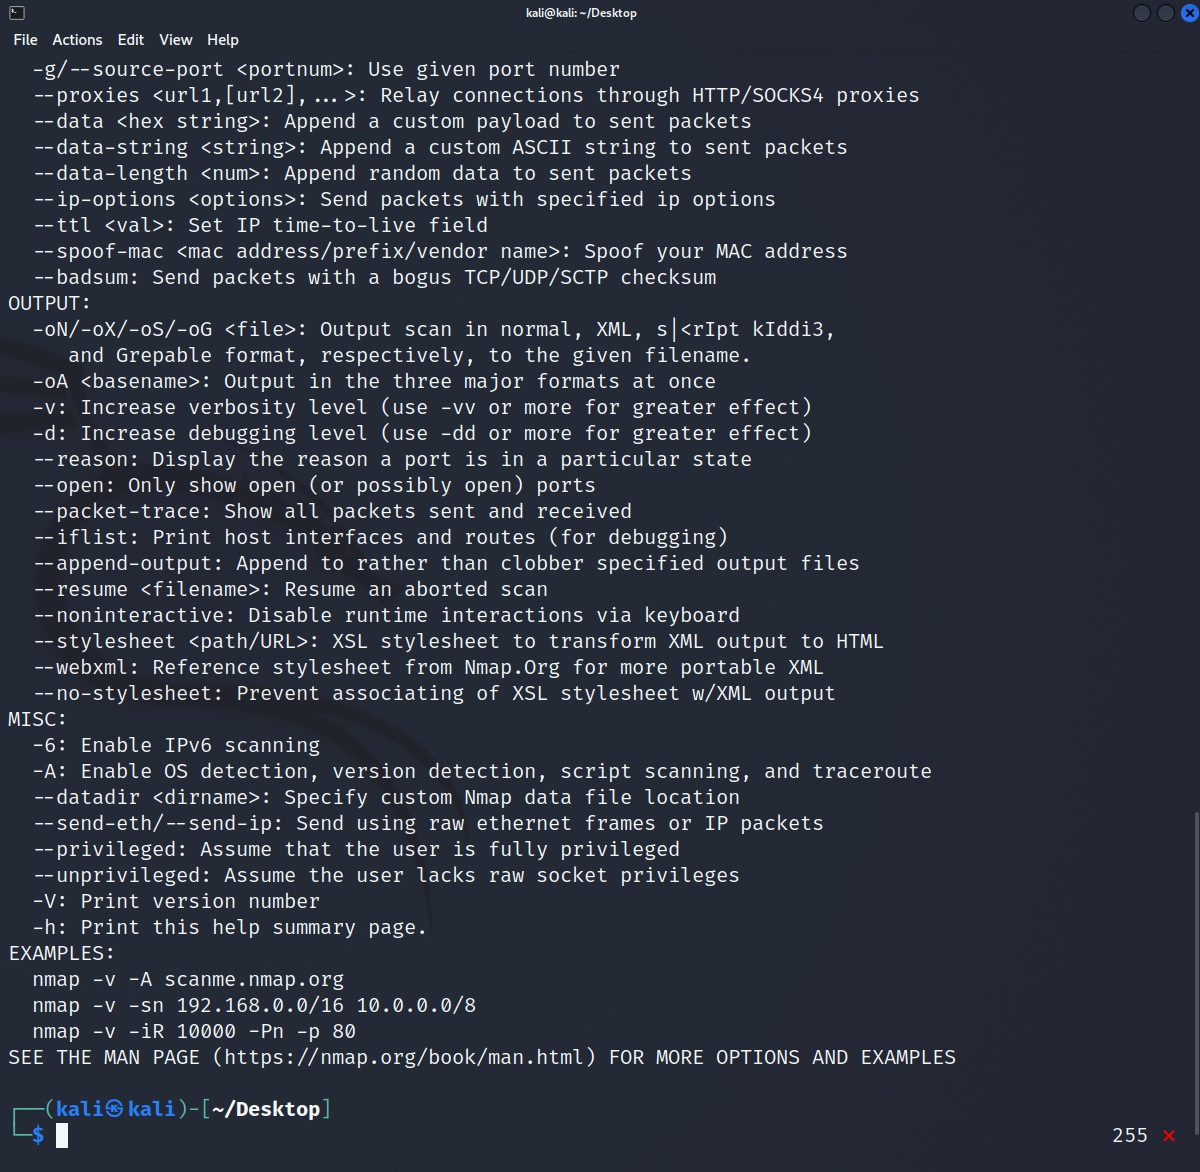
Alternatively, you can just type nmap and you will see a sort of condensed version of the manual page. This will show you examples and common flags and parameters to use.
Now that we know where to go to learn how to use the syntax for nmap, we need a target IP address or domain name. I’ve chosen to use scanme.nmap.org. This is a domain that nmap encourages IT students and researchers to scan for training and educational purposes.
First we need to see if the host is up and online, let’s do a ping command on the host.
ping scanme.nmap.org
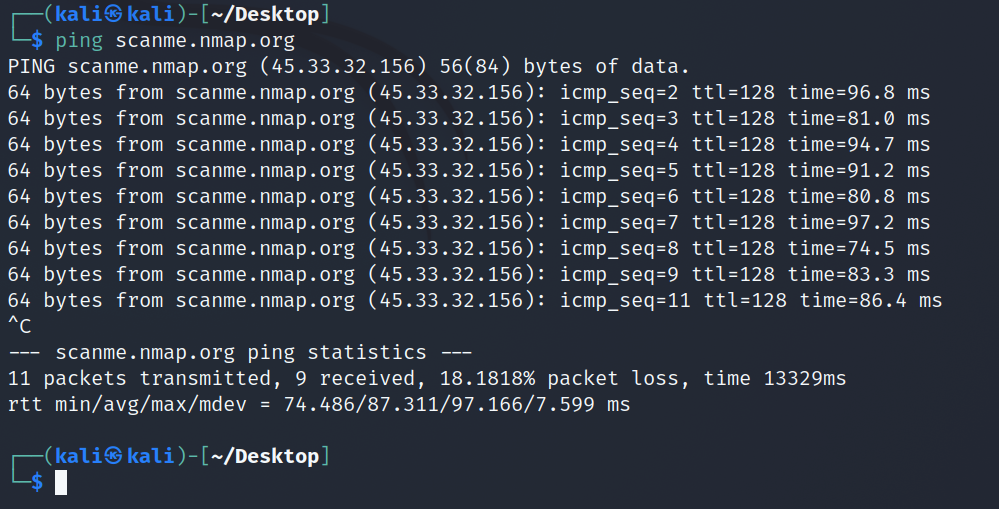
Now with linux it’s important to note that if you use this command without any flags it will continuously ping the target, which isn’t ideal. Use the terminal shortcut “Ctrl + C” to terminate the running command.
To fix this we can add the parameter -c followed by the number of pings we want to send. I’m going to use 4 in this demo. Once 4 pings have been sent, the command will terminate on its own.
ping -c 4 scanme.nmap.org
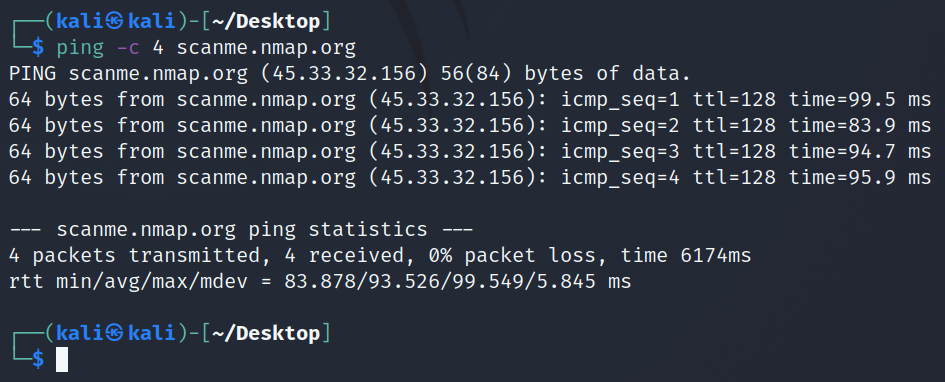
See, that’s more efficient than a continuous ping cycle. Plus you don’t have to worry about setting off as many alerts or creating excessive network traffic.
So now we will run nmap. It can sometimes be beneficial to run nmap with elevated privileges as we may be able to view restricted access scan results otherwise prohibited to other users. To do this we will use the sudo command. Sudo means super user do; this allows a user with lower access levels to perform admin level tasks. Here’s the command,
sudo nmap scanme.nmap.org
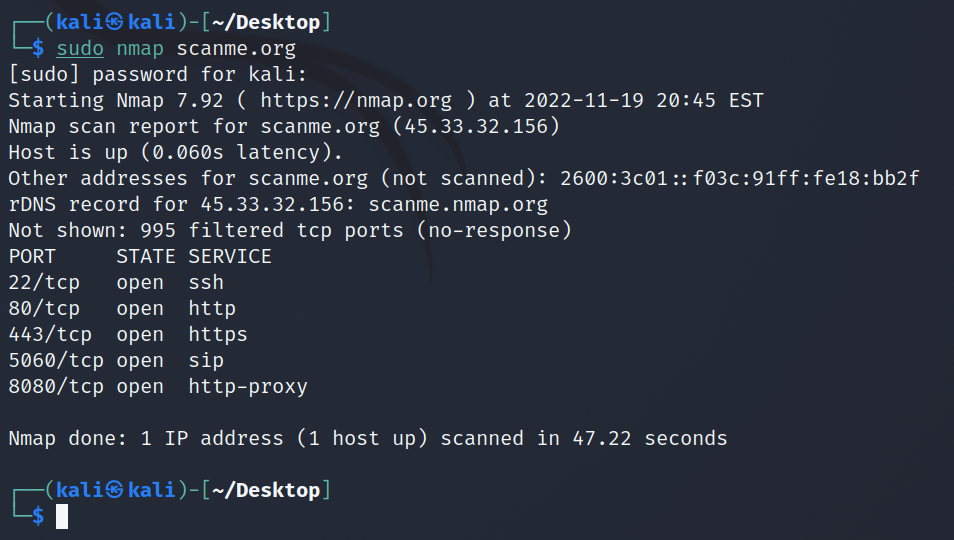
Alternatively instead of using the domain name we can use the ip address if we want. So in this case it would be sudo nmap 45.33.32.156.
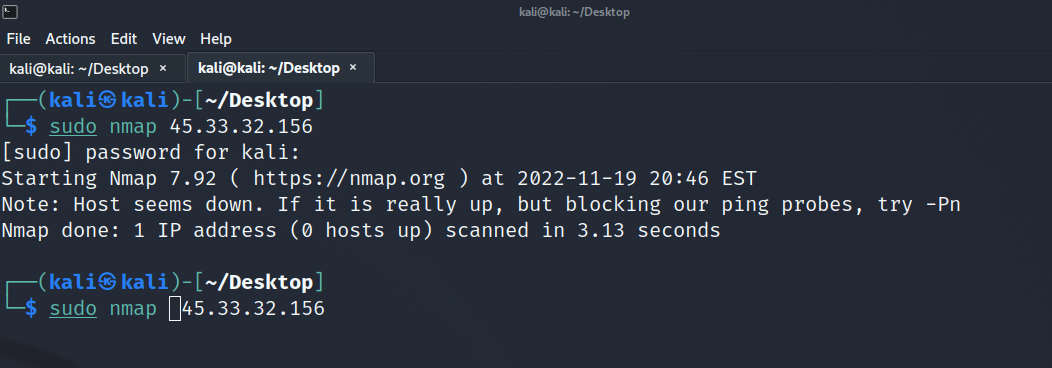
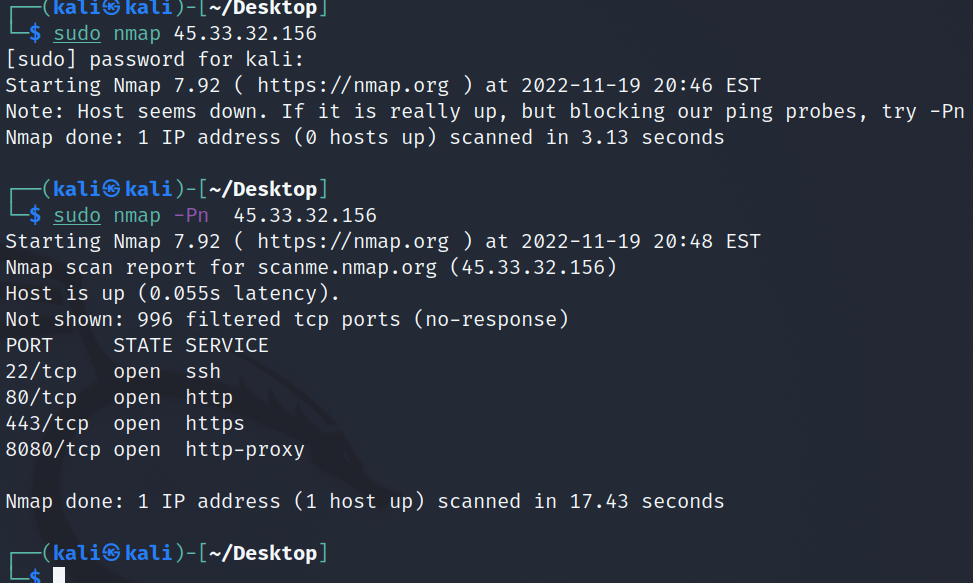
As a side note, if you ever see a message saying that the host seems down or is possibly blocking ping probes, then use the “-Pn” flag as indicated in the screenshot above. This will allow your command to run.
We should see the same results in both scans as the IP we discovered using the ping command matches the domain “scanme.nmap.org.”
So the scans I just ran will only return open ports. This can be useful if our goal is to only discover and probe open ports and not closed or filtered ones. This results in a quicker scan because nmap doesn’t have to scan all 65 thousand ports for their status.
Now if you want to scan all 65,535 ports, then you can use the -p- parameter. This scan takes a while to complete, so be sure to have patience; you can always hit the “enter” key on your keyboard to check on the status of the scan.
The command would look like this:
sudo nmap -p- 45.33.32.156

Next I’m going to scan specific ports that I’d be curious about. The ports I’m choosing are the ones for the FTP, SSH, HTTP, HTTPS, and RDP services. I chose these ports because they are used for common network services that are highly utilized. Attackers and defenders alike understand the importance of these services and ports.
So now I’m going to run the scan and I’m going to specify the port numbers from these services.
sudo nmap -p21,22,443,80,3389 scanme.nmap.org
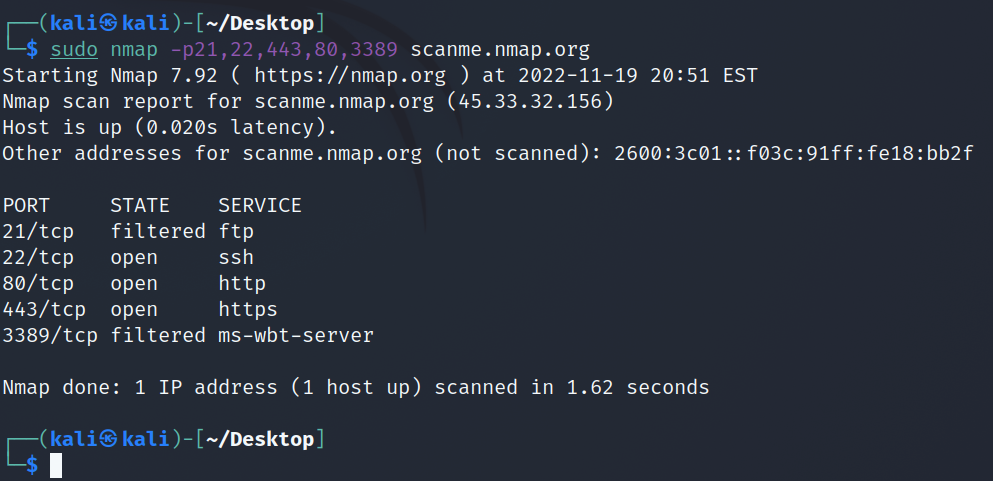
So this returned some great information. We now know the status of the ports we specified in the last command. This is useful to us as it allows us to focus on these ports to see if we can further enumerate them. There’s always more information to be found in the cyber world, go exploring!
Alternatively, we can run the same command we just ran, but instead of using port numbers, we can specify the name of the service in their acronym form. I’ll run the command to show you, I should get the same output as I did with the last command.
sudo nmap -p ssh,ftp,http,https,ms-wbt-server scanme.nmap.org
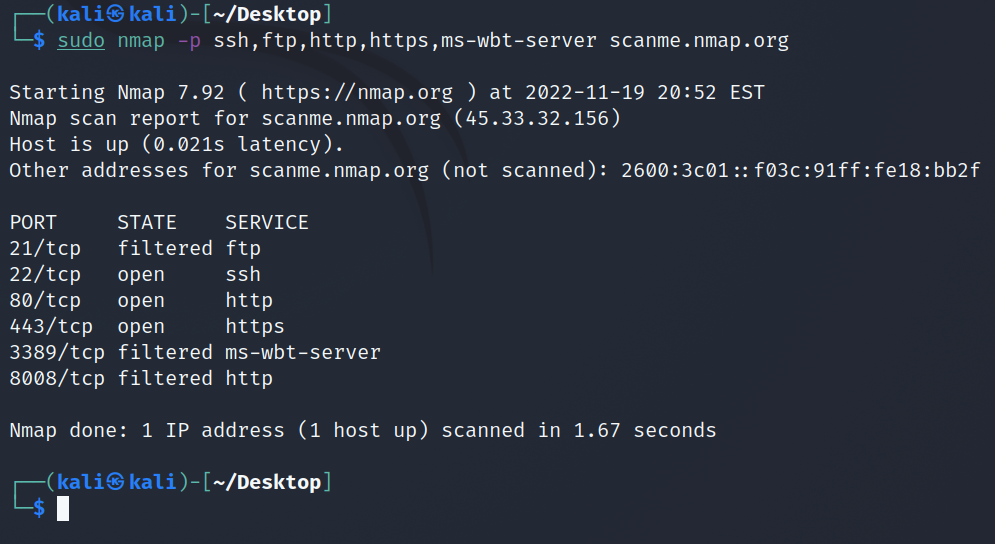
There you have it! That’s two different ways to run the same scan.
Now what if we want to see more data, more information? We want to know as much about our target as possible right! We can do this using the verbose scan using the –v flag.
sudo nmap -v -p22 scanme.nmap.org
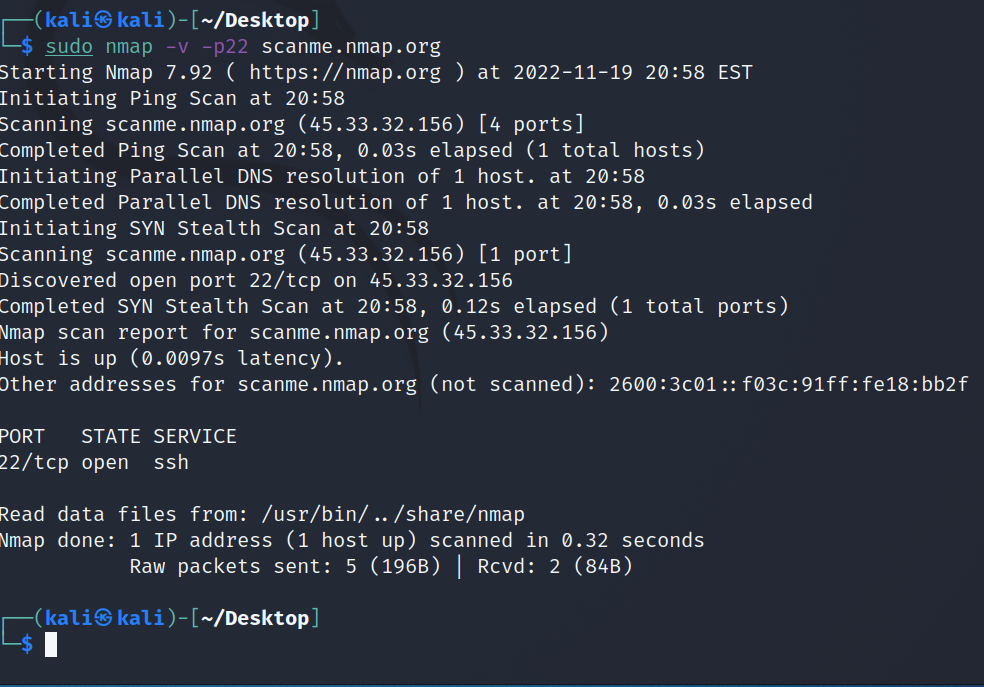
Notice how we see every step that nmap is performing. This is helpful for troubleshooting and logging purposes. If you want to understand how nmap is scanning and the communication flow, the verbose scan is great to run.
Now what if we want to see a little more detail like maybe the versions of the software running on the target? Well we would use a version scan, identified by -sV. Knowing the software versions running on the target allows us to identify weak and outdated versions, possibly leading to a security vulnerability. This is valuable data for blue teamers and penetration testers alike.
For a version scan, we can run-> nmap -v -sV -p22 scanme.nmap.org
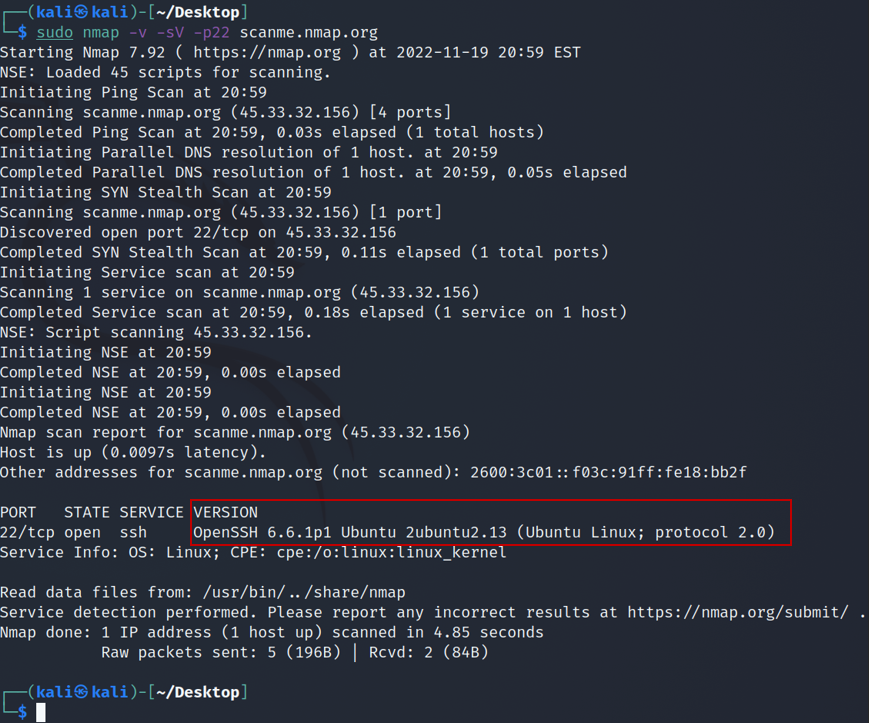
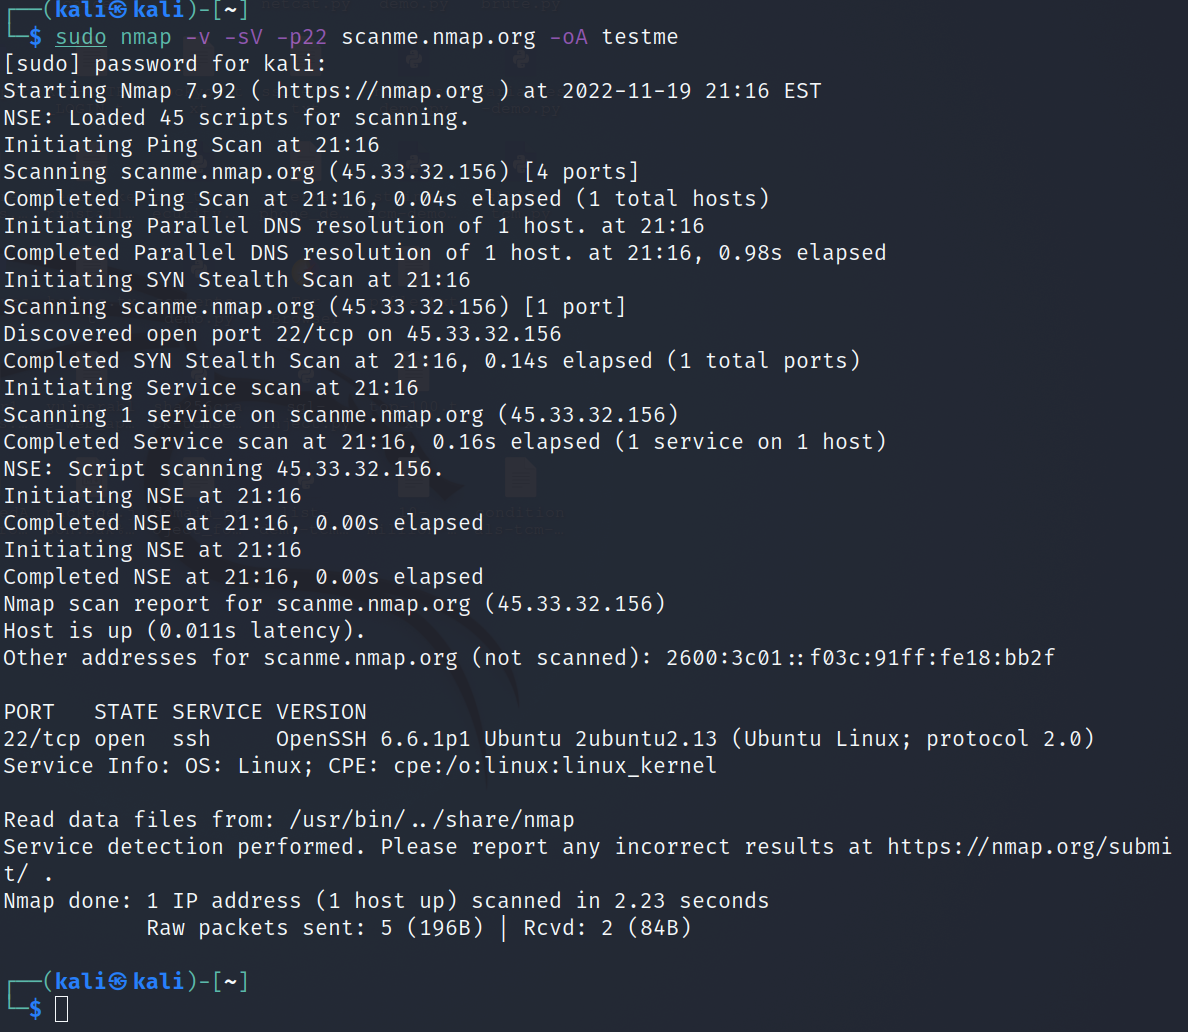
The new block of information we see is the version information column in the scan results. There’s another thing we should do and that’s save our command output in some files so we can analyze it later if we want. The parameter for this is -oA and then the name of the file you want to create. The command will look like this, with testme being the name of the file.
sudo nmap -v -sV -p22 scanme.nmap.org -oA testme
This will create XML, GNMAP, and NMAP files which we can take a look at now
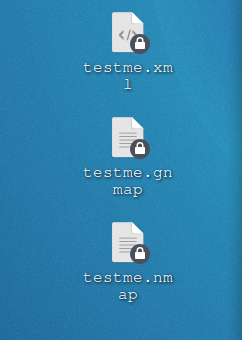
These are the files that get generated from the -oA parameter from our last command. And below are the files opened in the gedit text editor tool.
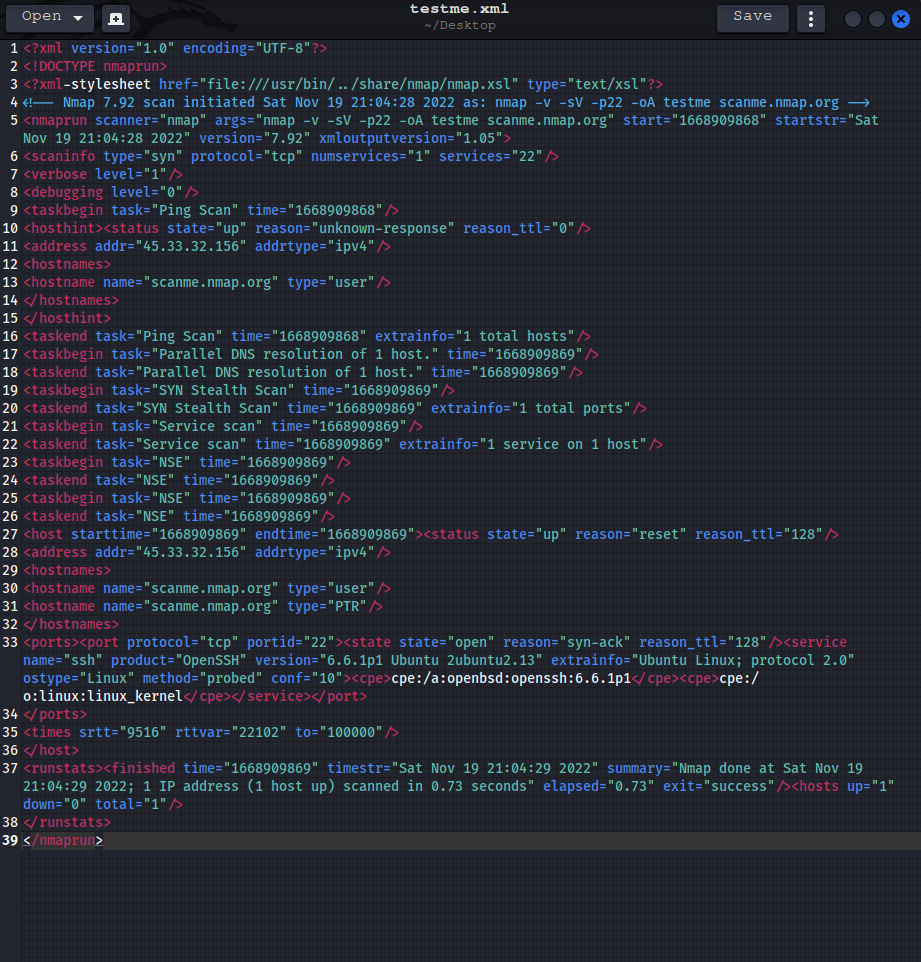
The information in the screenshot above is pretty much the verbose output of the scan.
The two screenshots above show you what scan was run, when it was run, results, and some other details.
Ok, so that was a lot of information that the verbose flag has returned; this can be a little overwhelming. what if there was a way we could clean our terminal up a little. There is, and all we have to do is remove the verbose flag. We can also use an aggressive scan with -A . The aggressive scan will return operating system detection, version scanning, script scanning, and traceroute results. So this command should give us less noise in our terminal and bring us more of the important stuff, let’s try it.
sudo nmap -A -p22,21 scanme.nmap.org

As you can see, we can see a lot more information with the aggressive scan. The data that nmap has returned tells us a lot about ports 21/22, version information, and traceroute. This information is crucial in the enumeration process and can help a penetration tester or incident responder narrow down their search and focus on these details.
When we run nmap’s scripting engine against a target, it allows you to really take nmap to the next level, here you can run nmap scripts against a target to identify specific vulnerabilities, perform enumeration on specific servers or software, and much more. The parameter for a default script scan is -sC; although an aggressive scan will run a script scan as well. Both the -sC and -A flags are not needed in the same command.
Using the scripting engine in nmap can save a lot of time jumping back and forth between multiple tools; nmap has a ton of functionality to do a wide variety of tasks. I encourage you to get familiar with it.
Let’s take a look at the list of scripts you can choose from in nmap, we will open a new terminal tab and cd or change directory to the nmap/scripts directory. You use the semicolon after the change directory command (cd /usr/share/nmap/scripts) followed by a secondary command. Once the first command is run, the next will be run as well. This semicolon helps save time, I highly recommend it! The command for this is -> cd /usr/share/nmap/scripts; ls

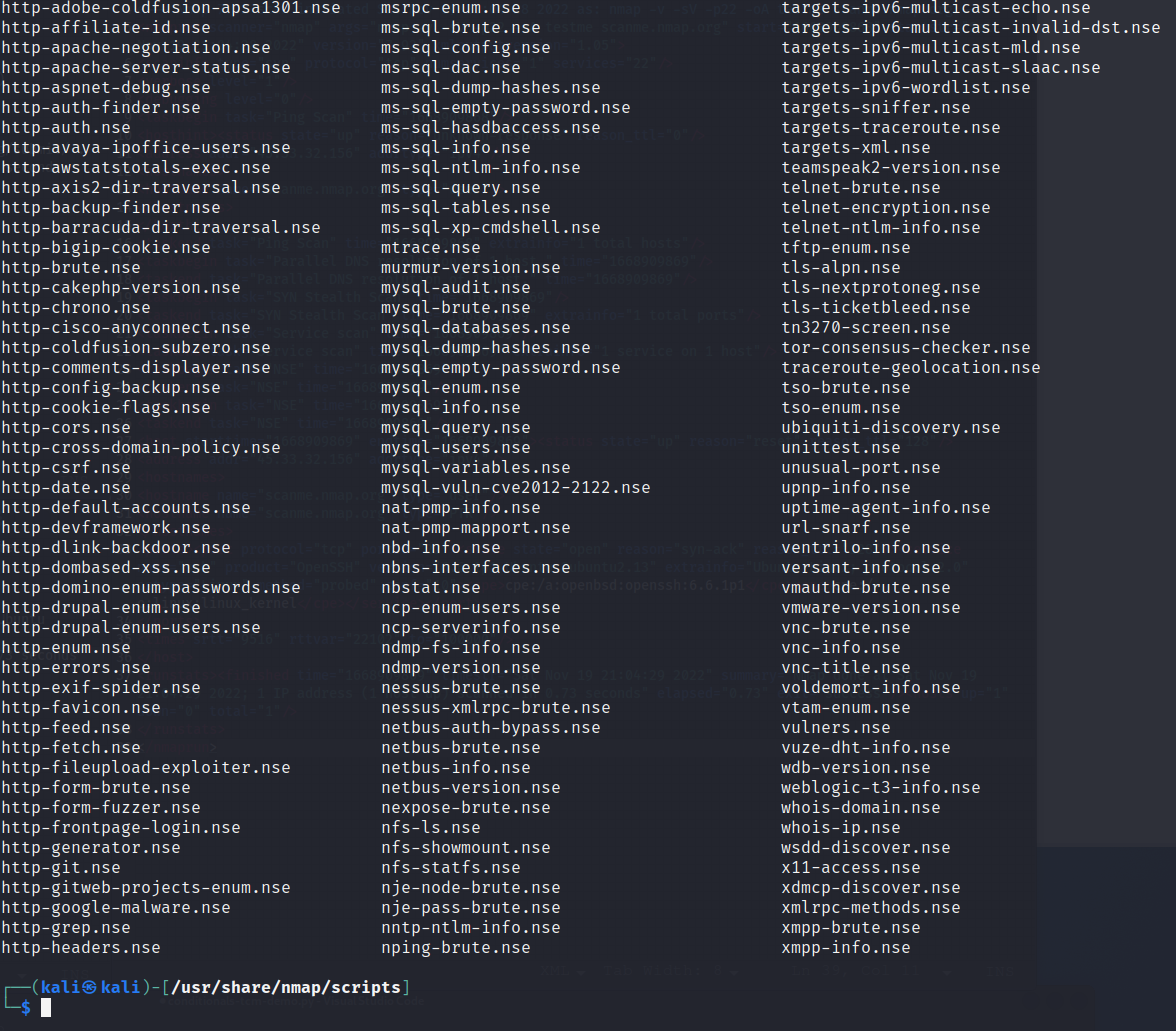
There’s a few pages worth of scripts in this directory. Look at all of these different scripts we can run against the target. This is good stuff! There are scripts to run against SQL databases, http servers, vnc tools, and lots more.
If we want to search for a specific set of scripts we can use the ls and grep commands to list the contents of this directory and search for patterns. Grep searches for patterns, meaning you can look for specific search terms. It is frequently used with the pipe “ | “ character. In the command we are about to run, we are listing the contents of the directory and piping (“ | “) the results to the grep command which includes the “ignore case” flag -i, and using “http” as the search term.
We’ll search for http scripts first, the command to use is: ls | grep -i http
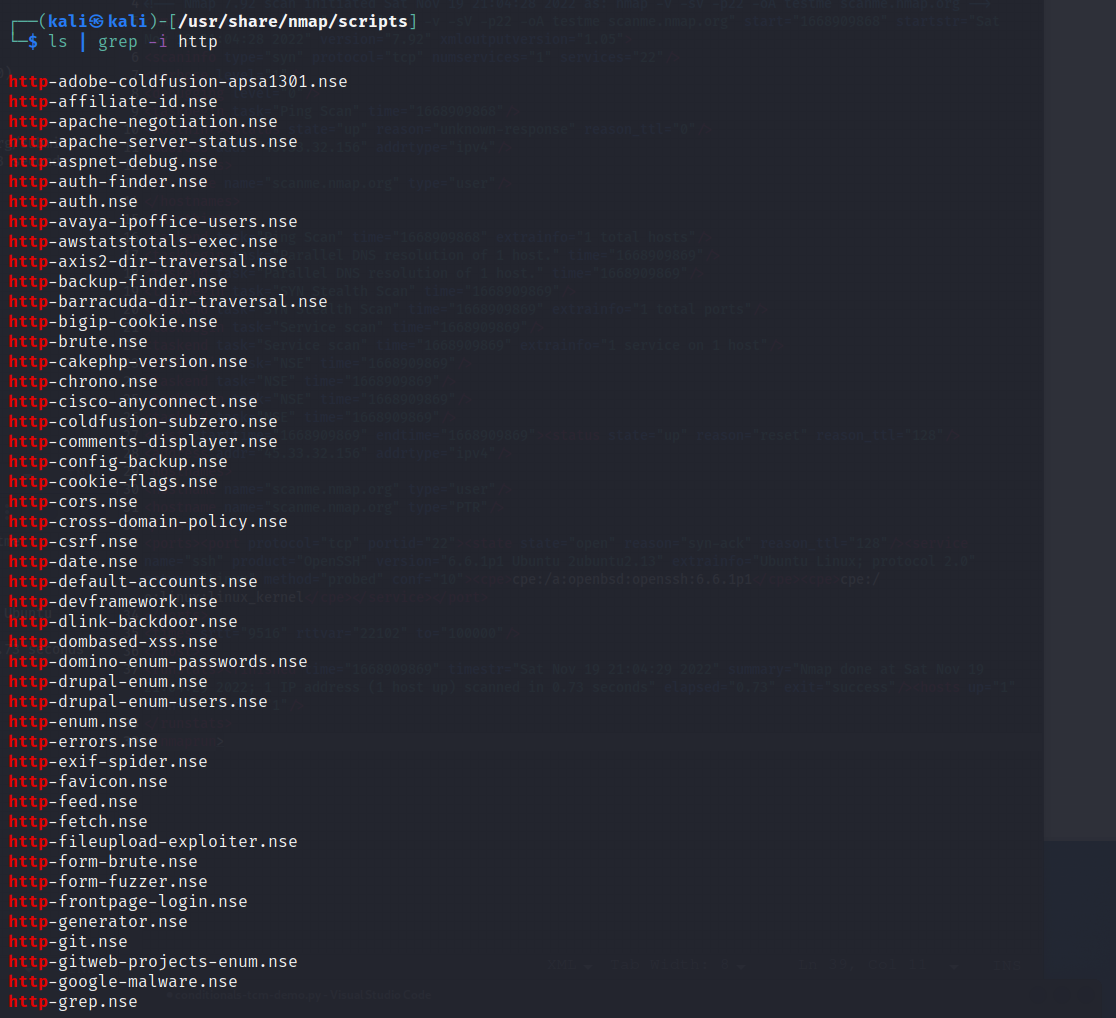
As you can see, the command only returns results from the directory contents that contain “http” in the line. This is a quick way to search for a specific script in the http category.
Likewise, if we want to use nmap as a vulnerability scanner we can search for vulnerabilities as well. The command is the same as before except we will use “vuln” as the grep pattern.
If you wish, you can follow along with this command -> ls | grep -i vuln
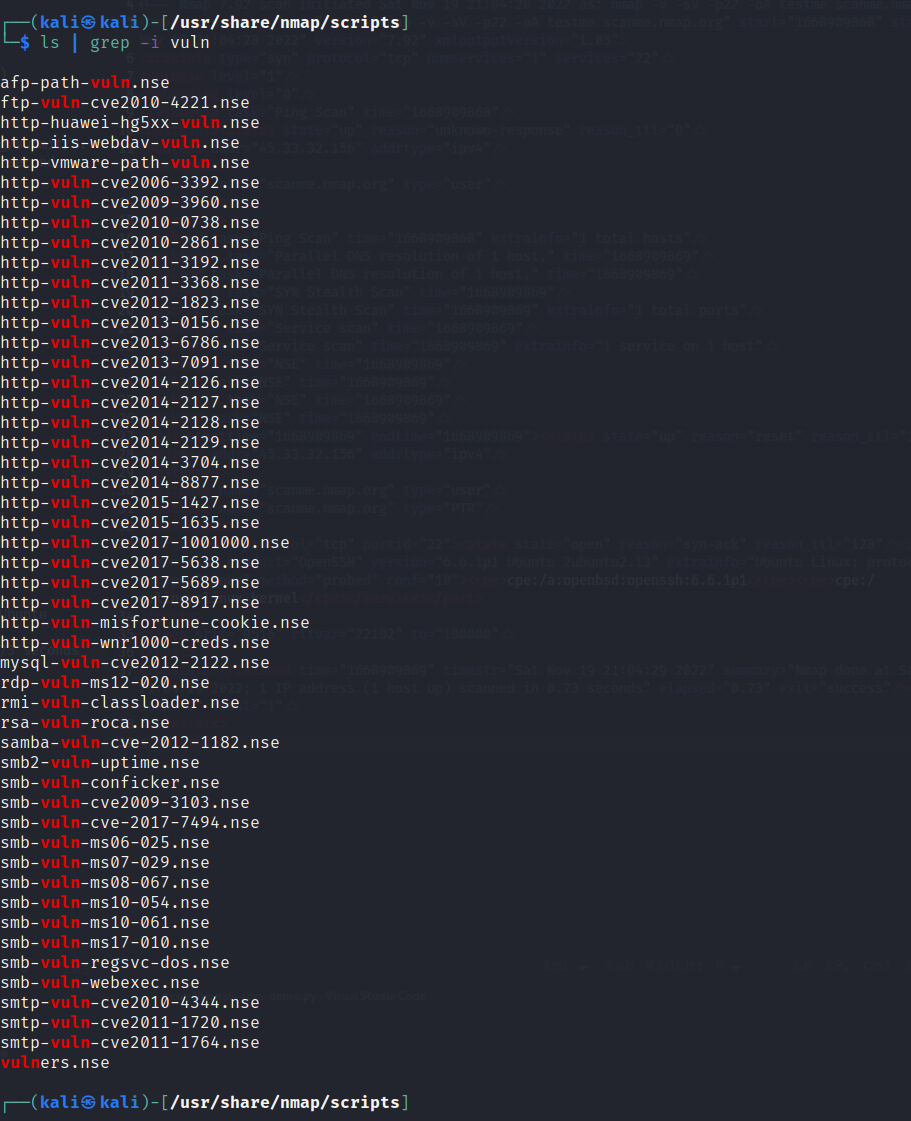
Again, as with the http category, we can see the vulnerability scripts using the grep command. I want to show you one last script search that is frequently used in the security field and that’s the user category. Most of these scripts will attempt to enumerate the valid users on a device, network, or application from a given target. Same as before, run the ls | grep -i command, this time adding “user” as the grep search term.
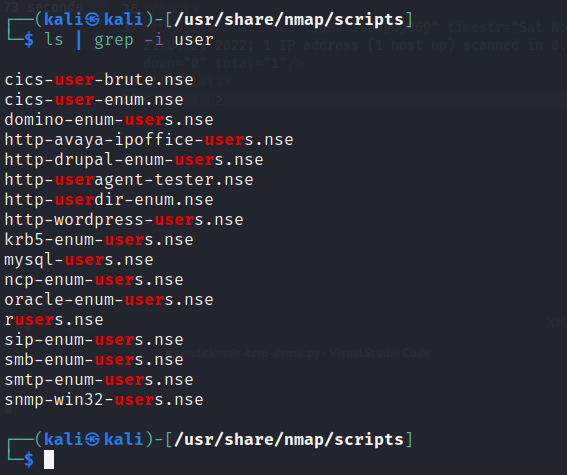
As you can see, you have a great many options for your nmap script scans.I encourage you to explore this section and test out some of the scripts and understand what each one is doing. If you want to learn more about the nmap scripting engine you can visit the nmap scripting engine (NSE) web page. I’ll put a link at the end of the article for you.
Let’s run one last command just so you can see the power of the scripting engine. I’m going to run an aggressive scan with the vulnerability script library. The command to run an nmap script is “–script vuln” OR the full name of the desired nmap script “–script=smb-enum-users.nse” Running the command with “vuln” and not the specific name of a script, will test the compatible scripts on the target in the vulnerability category only.
The command is sudo nmap -A –script vuln scanme.nmap.org
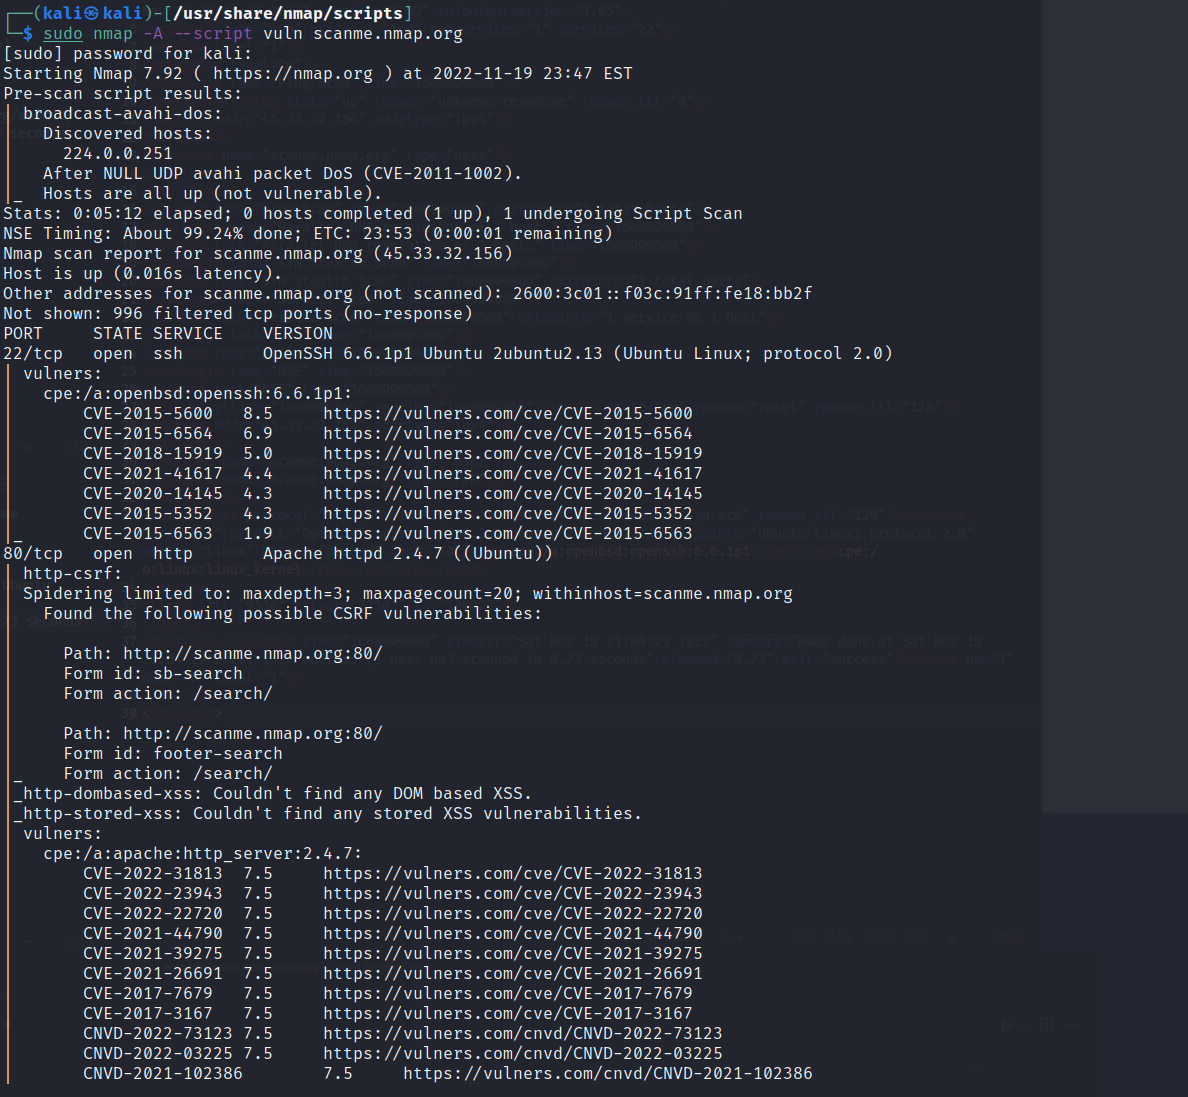

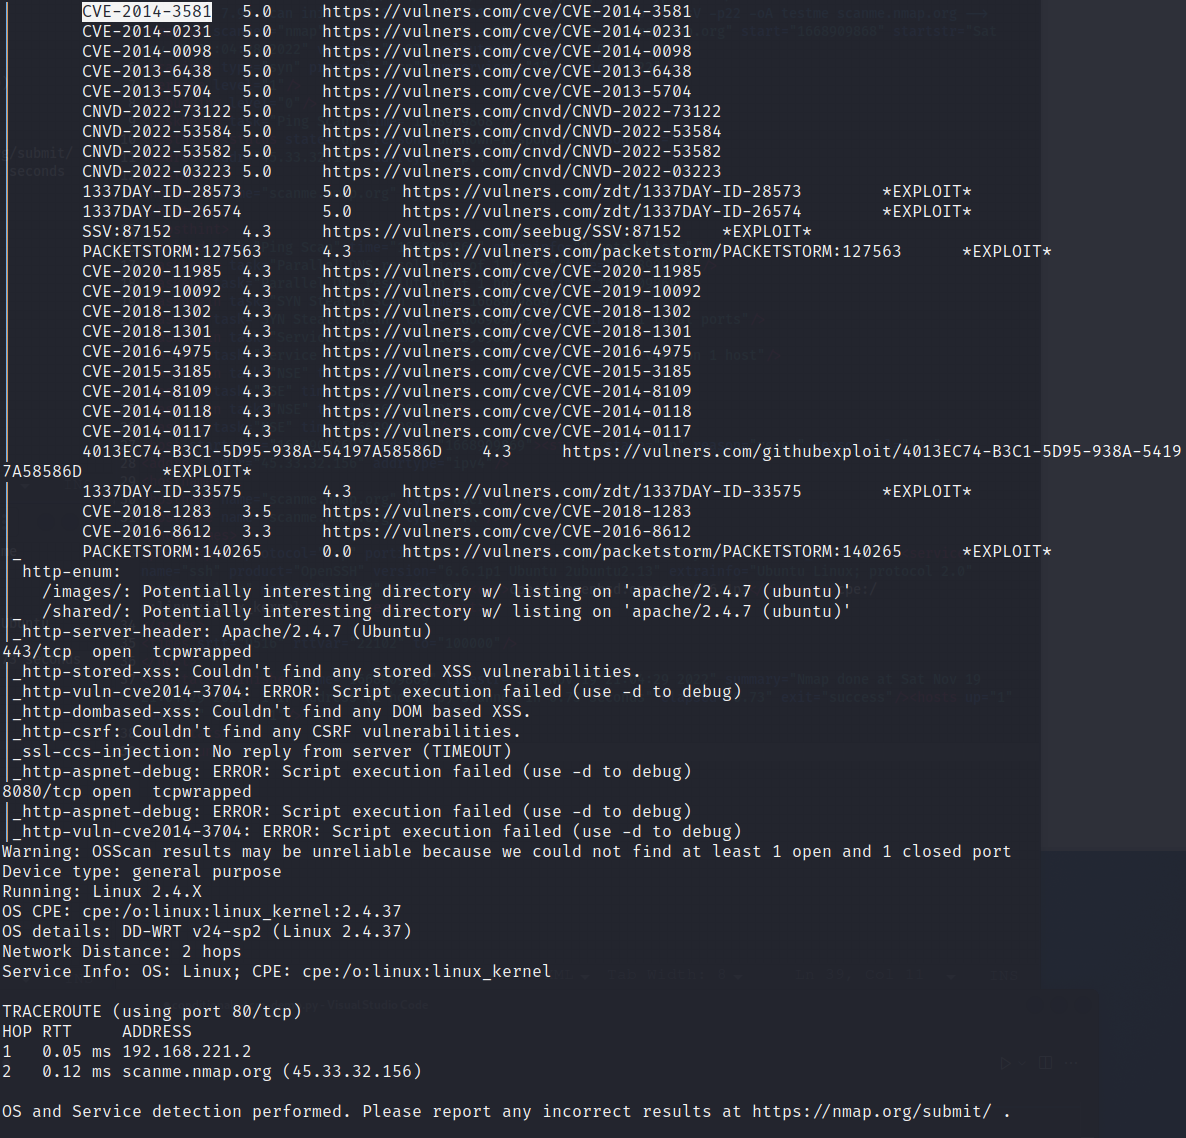
This scan returned a lot of output. It appears that the target was vulnerable in multiple ways.As you look through the screenshots you will see that multiple CVE’s (Common vulnerability and exposure), which are vulnerabilities, web application vulnerability scripts were run, and details on each of the ports nmap found to be open and vulnerable.
This scan did take a while but it returned some great data, go ahead and try it. This just scratches the surface of what nmap can really do. I do encourage you to use this information in this article for ethical purposes and not for illegal activities. I hope you enjoyed this tutorial and if you’d like to learn more, explore this blog for more tutorials and topics of security, privacy, and networking. Thanks for reading!
Resources
NMAP homepage (usage, syntax, etc.)
NMAP scripting engine help and usage